RELEASE NOTES:
Initial release 2-June-2020
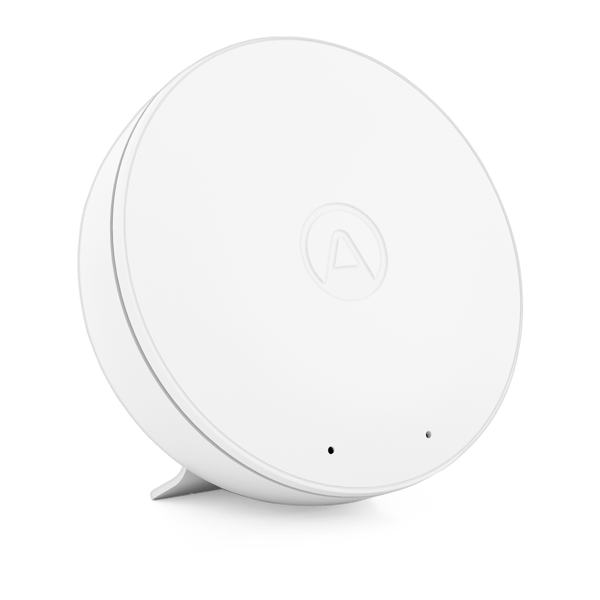
Do you own a Wave Mini? Do you like to code in  your spare time? Great news! You can now read Wave Mini sensor data using a Raspberry Pi.
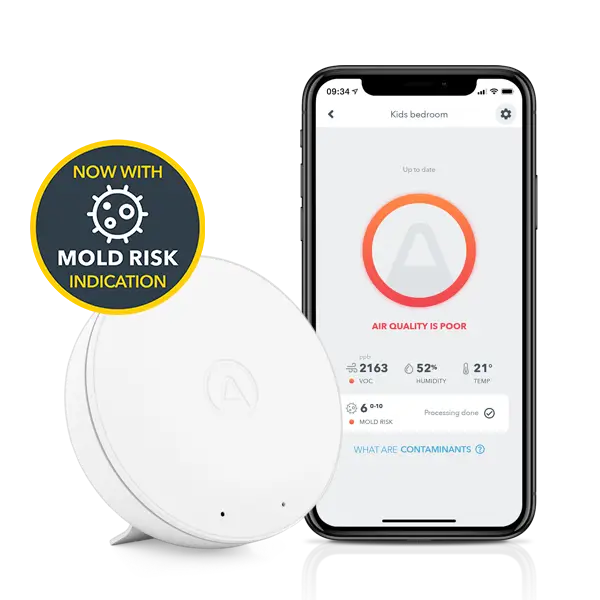
Airthings Wave Mini has three key sensors including TVOCs, temperature and humidity. It is the perfect first step into understanding the health and comfort level in every room, or a great addition to an existing air quality system.
Our developers provide a starting point to help you read sensor data from an Airthings Wave Mini using a Raspberry Pi 3 Model B over Bluetooth Low Energy (BLE). You can see the full script (read_wavemini.py) on GitHub.
Requirements
The following tables show a compact overview of dependencies for this project.
| OS | Model/version | Comments |
| Raspbian | Raspberry Pi 3 Model B | Used in this project. |
| Linux |
x86 Debian | Should work according to bluepy |
List of linux/raspberry dependencies
| Package | Version | Comments |
| python | 2.7 or 3 | Tested with python 2.7.13 and 3.7.3 |
| python-pip |
pip for python2.7 | |
| python3-pip |
pip3 for python3 | |
| git |
To download this project | |
| libglib2.0-dev |
For bluepy module |
List of third-party Python dependencies
| Module | Version |
| bluepy | 1.3.0 |
Step one: Set up your Raspberry Pi
The first step is to setup the Raspberry Pi with Raspbian. An installation guide for Raspbian can be found on the Raspberry Pi website. In short: download the Raspbian image and write it to a micro SD card.
To continue, you need access to the Raspberry Pi using either a monitor and keyboard, or by connecting through WiFi or ethernet from another computer. The latter option does not require an external screen or keyboard and is called “headless” setup. To access a headless setup, you must first activate SSH on the Pi. This can be done by creating a file named ssh in the boot partition of the SD card. Connect to the Pi using SSH from a command line interface (terminal):
$ ssh pi@raspberrypi.local
The default password for the pi user is raspberry.
Step two: turn on the BLE interface
In the terminal window on your Raspberry Pi, enter the following commands:
pi@raspberrypi:~$ bluetoothctl
[bluetooth]# power on
[bluetooth]# show
[bluetooth]# exit
After issuing the command show, a list of bluetooth settings will be printed to the Raspberry Pi terminal window. Look for Powered: yes.
Step three: install Linux and python packages
Raspbian images usually come with Python (2 and/or 3) pre-installed. To verify Python installation, enter the following commands in the terminal window:
pi@raspberrypi:~$ python2 --version
pi@raspberrypi:~$ python3 --version
Install Linux packages:
pi@raspberrypi:~$ sudo apt-get update && sudo apt-get install libglib2.0-dev git
If you’re using Python 2, install the following packages:
pi@raspberrypi:~$ sudo apt-get install python-pip
pi@raspberrypi:~$ sudo pip2 install bluepy==1.3.0
If you’re using Python 3, install the following packages:
pi@raspberrypi:~$ sudo apt-get install python3-pip
pi@raspberrypi:~$ sudo pip3 install bluepy==1.3.0
 Step four: Downloading the script
Downloading using git:
pi@raspberrypi:~$ sudo git clone https://github.com/Airthings/wavemini-reader.git
Downloading using get:
pi@raspberrypi:~$ wget https://raw.githubusercontent.com/Airthings/wavemini-reader/master/read_wavemini.py
Step Five: Reading sensor data
The general format for calling the script (read_wavemini.py) is as follows:
pi@raspberrypi:~$ sudo python read_wavemini.py SERIAL_NUMBER SAMPLE_PERIOD
After a short delay, the script will print the current sensor values to the Raspberry Pi terminal window. Optionally, you may pipe the readings to a text-file (instead of terminal) using the following format:
pi@raspberrypi:~$ sudo python read_wavemini.py SERIAL_NUMBER SAMPLE_PERIOD > somefile.txt
Exit the script using Ctrl+C.
| Positional input arguments | Type | Description |
|---|---|---|
| SERIAL_NUMBER | Integer | 10-digit number found under the magnetic backplate of your Airthings detector. |
| SAMPLE_PERIOD | Integer | Time in seconds between reading the current sensor values (excluding the overhead of connecting to target). Note that sensor values are only updated every 5 minutes. |
Example output of running the script:
Temperature: 27.33 *C, Humidity: 25.51 %rH, VOC: 48 ppm
Temperature: 27.33 *C, Humidity: 25.51 %rH, VOC: 48 ppm
Temperature: 27.33 *C, Humidity: 25.51 %rH, VOC: 48 ppm
Temperature: 27.33 *C, Humidity: 25.51 %rH, VOC: 48 ppm
Note that the script requires that your device is advertising. If your device is paired/connected to e.g. a phone, you need to turn off Bluetooth on your phone while using the scripts.
Sensor data description
| Sensor | Units |
| Temperature | °C |
| Humidity | %rH |
| VOC | ppm |

Wave Mini
Featuring TVOCs, temperature and humidity sensors, Wave Mini is the perfect first step into understanding the health and comfort level in every room, or a great addition to an existing air quality system.


 Step four: Downloading the script
 Back to top

%20(1).webp)

%20(1).webp)
