How to perform a Radon test
A Radon test is the only way to know with any certainty whether indoor air harbors high levels of this dangerous gas. Radon is a leading cause of lung cancer, second only to smoking, which is why it is important to know when it is present. Radon is odorless, colorless, and tasteless, which is why it is important to have indoor environments tested to determine how much of it is present.
Testing is accomplished in both chemical and digital processes, with a range of time frames, results, and costs. It can be performed with a simple, do-it-yourself kit. It can also be performed by a professional team called to the site. A third option, the most recent development and one that homeowners are turning to in increasing numbers, is the digital test kit.
Advantages of digital Radon test kits
Charcoal test kits are single use, as are the professional testing sessions. Buy the kit or pay the team, and you get your results in anywhere from 2 to 90 days. Long-term tests prove more accurate. Charcoal test kits are designed to test only in the spot where placed during testing. Professional testing is done only where directed.
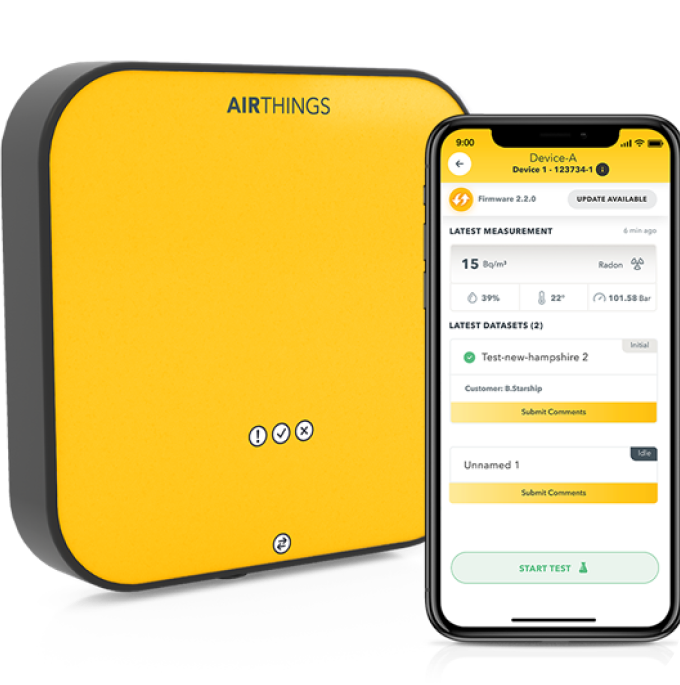
Digital Radon test kits are reusable, over and over again, with a lifespan of about 10 years. Some digital test units require a power cord for use. Others run on batteries. Digital test kits usually keep a record of test results, from any site, from any date, that can be used for reference at the touch of a button. Most units can be set to display test results for 1-day, 7-days, or long-term testing. Multiple-use, portable, convenient, accurate, and easy to use, is there a reason to choose another type of test?
A digital Radon test is as easy as 1-2-3
Step 1:
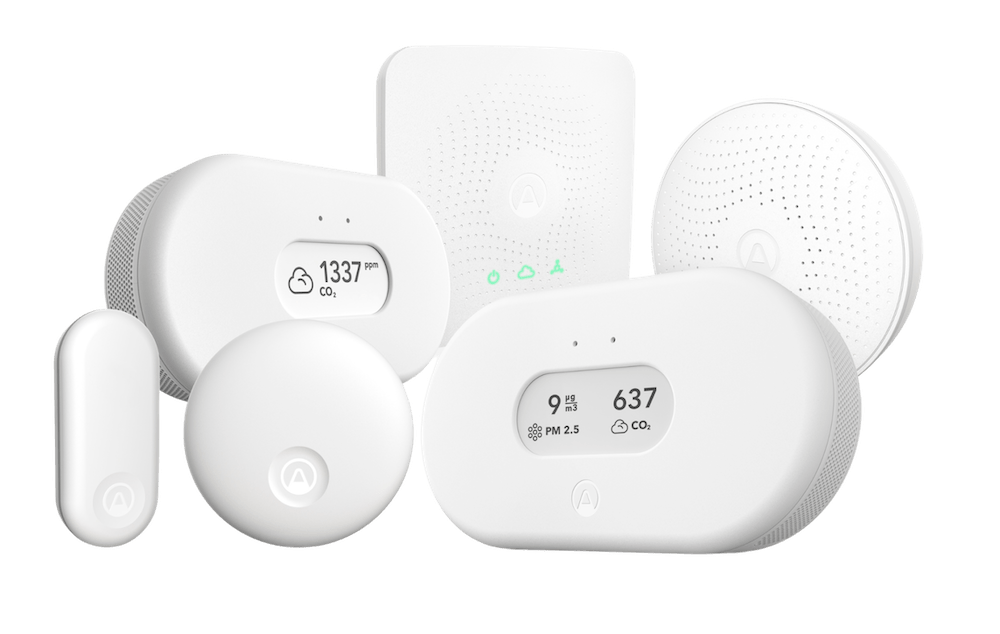
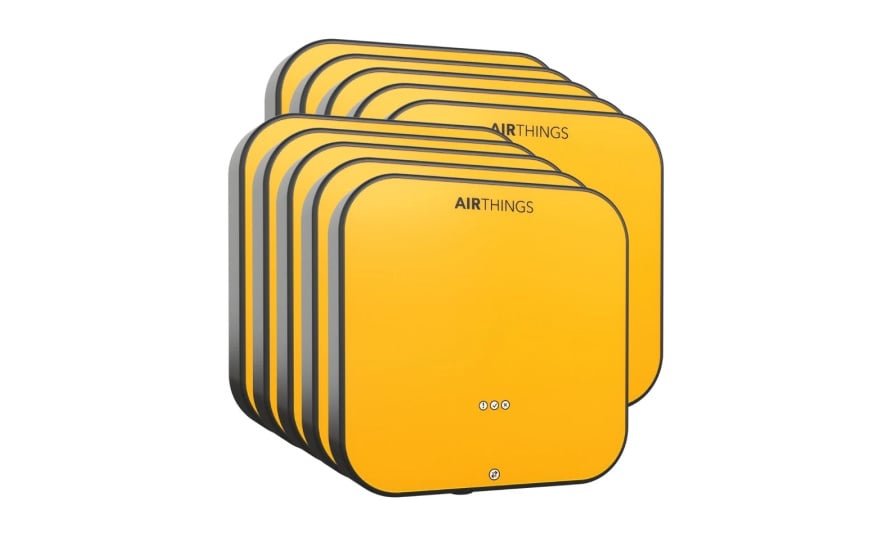
Once you have chosen a digital testing unit you’ll need to power it up. If you’ve chosen a plug-in model, you’ll need to locate the power source. For a battery operated model, just pop in the batteries, hit reset, and you’re ready to go. To install the Wave just download the Airthings App, pull the battery tab, mount it to the wall or ceiling, and follow the simple instructions in the app to register your device.
Step 2:
Place the unit in the room that you spend the most time in. Basements and lower floors tend to have higher levels than upper floors. Place the unit at breathing height. Placement should avoid direct sunlight and high humidity, and should be at least 50 cm above the floor, 25 cm from the nearest wall, and 150 cm from any doors, windows, or ventilation. Some units require face up placement in a horizontal position in order to properly calibrate.
Step 3:
When the required amount of time has passed, view the results. Minimum wait time in the United States is suggested at 48 hours, but 7 to 30 days is recommended. Performing a 7-day test in each room, then retesting for 30 days in the room with the highest level gives a thorough picture of radon exposure. Testing is most accurate in the winter months, when doors and windows are closed. Try not to ventilate rooms any more than normal during testing.
Reading Radon levels: what the results mean
The World Health Organization has set an action level at 100 Bq/m3, above which remediation to lower Radon levels should take place. Countries around the world that use the metric system have adopted the same system, measuring in Becquerels per cubic meter, but may have differing action levels. England specifies 400 Bq/m3for workplaces, 200 for dwellings, and Italy is at 500 Bq/m3 for workplaces, and in agreement with WHO for dwellings, but both are currently under revision. Germany suggests a voluntary action level at 100 Bq/m3 for dwellings.
In the United States, a level of 4 pCi/L is the action level set by the Environmental Protection Agency. With one pCi/L, or picocurie per liter, equal to thirty-seven Bq/m3, the USEPA action level proves more lenient than that specified by WHO.
Easy and inexpensive, mitigation to alleviate high Radon test levels can be as easy as installing a fan, a vent pipe, or simply sealing openings, cracks, or holes in the foundation of the structure. Occasionally the fix is more complex. Many locations have put Radon mitigation into the building codes, making the fix much easier, or in many cases preventing the need for it.
The good news here is that this is a test you don’t need to study for. The even better news is it is a test you cannot fail. The digital units do the calculations for you, warning you of dangers that may be lurking in indoor environments. And the final good news? This is a test that lets you know when everything is OK. Phew. Now, that’s a relief.
Do you have a problem? Click here for our top five tips to reduce radon.
Sources
- “How Do You Test for Radon?” Marshall Brain and Craig Freudenrich, Ph.D. How Stuff Works, 2009. http://home.howstuffworks.com/home-improvement/household-safety/tips/radon.htm
- “Field evaluations of digital radon detectors.” Chen J, Falcomer R, Walker B. Health Phys, 2007 Nov;93(5Suppl):S184-6. http://www.ncbi.nlm.nih.gov/pubmed/18049248
- A Comparison of Winter Short-term and Annual Average Radon Measurements in Basements of a Radon-Prone Region and Evaluation of Further Radon Testing Indicators.” Nirmialla G. Barros, Daniel J. Steck, and R. William Field, Healthy Phys, 2014 May; 106(5): 535-44. http://www.ncbi.nlm.nih.gov/pmc/articles/PMC4006371/
- “Radon Exposure Management.” European ALARA Network, 2010. http://www.eu-alara.net/index.php/surveys-mainmenu-53/36-ean-surveys/231-radon.html


